I recently, while clearing out the taxi office, found a cash bag full of 20p National Transport Tokens. I had never heard of these.
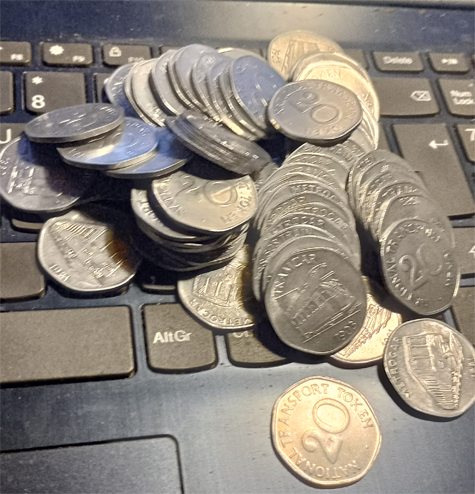
So I did a bit of research…
This particular issue were, issued, as a set of six, depicting a 1903 Tramcar, a 1920 Leyland bus, the 1943 Daimler CDV6 bus, the 1980 BR Class 508 EMU, the 1981 Metrocar, and the 1989 N C Midi.
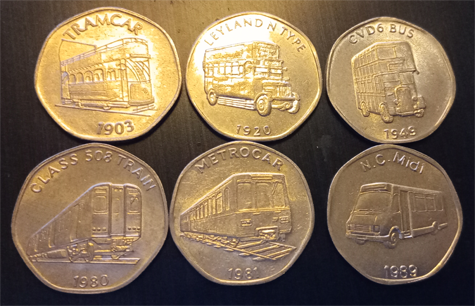
Individually they are not really valuable, nor are they as a set. But if I knock up a little presentation package, then who knows?
Once I’ve separated the full sets out, I might even try to bang the stragglers out on eBay.
Who knows what tomorrow brings?